CNC machining of equipment and anti-corrosion screw bushings Xu Guibin Wang Zhengfang Du Shaoguang Xue Zhaojun Sun Tingbo (Qilu Petrochemical Company Machinery Factory, Zibo, Shandong, 255400) In the localization of imported equipment parts, a new kind of new technology is proposed. Ideas can be provided for CNC machining and NC programming of complex parts.
The double-headed acceleration screw bushing is an important part on the extrusion rod of a plastics granulator. The original is imported from abroad. In order to meet the needs of localization of imported equipment, the machine has mapped the part. The specific shape of the spiral bushing is represented by two spiral lines on the cylindrical surface, and the pitch thereof is accelerated with the distance from the right end of the spiral, and each spiral is composed of five segments of the form change, which is one. The spiral surface is particularly complicated in shape and requires high dimensional accuracy, so that complicated curved surfaces are difficult to complete by ordinary machining methods.
1700 machining center machine tools, CNC machine tools are modern equipment that integrates many advanced technologies, and can realize CNC machining of complex curved surfaces. Through the derivation, the one-dimensional search of the mathematical calculation computer determines the inflection point, and the complex continuous surface is discretized into several tool position control points, and the continuous curve is further fitted to achieve continuous control. Based on such a mathematical model, the NC program was programmed to mill out the qualified spiral axis using the four-axis linkage function of the machining center machine.
1The mathematical model of the spiral bushing and related numerical analysis The original spiral bushing is imported from abroad. I don't know the design process. If the position of the spiral and the shape of the curved surface change during manufacturing, the mechanical properties of the plastic will change when it is extruded, so it must be strict. According to the dimensions of the surveying, the original design and use requirements can be achieved.
1. Mathematical model According to the mapping results of the design shop of the machinery factory, the spiral line conforms to the square X: the distance from the center of the spiral line to the right end of the part, mm; A: the spiral line expands along the cylinder surface, and the spiral sleeve is spread along the cylinder surface. As shown, at the inflection points a to b, the spiral width is changed from 22 mm to 34 mm; at the inflection points c to d, the spiral width is changed from 34 mm to 45 mm. Our purpose is to remove the metal between the two spirals, retaining the snail Line, assuming that the spiral width is zero and the tool diameter is zero, then the corresponding A is: one of the spirals is shown: 1, 5 is the tool center track; the spiral edge of the R30 arc; the center of the spiral ; 4 is the spiral edge where the R 16 arc is located.
12 Tool compensation amount is determined Considering the spiral width and tool radius, any point on the tool path is: heart = / + Ax, that is, there is a one-to-one correspondence between the point on the tool path and the point on the center of the spiral. As long as the point on the center of the spiral is used as the mapping origin, and a compensation amount is added based on the coordinate values ​​X, Y, and Z, the coordinates of the corresponding points on the tool path can be obtained. Calculate the center trajectory of the milling cutter with A as the variable, then: R: ball cutter radius; H: tooth width; M: margin; I slope of the point, I = (A), I value is equal to one of the points on the curve Derivative; R, workpiece radius.
13 The numerical origin of the mapping point a is a. According to the mathematical model we have established, a and a have the following correspondences. After a, the tangent A, B, the tangent slope is 1 = I is the curve at this point. The first derivative of the milling cutter is located at point a2, a2a, AB.
Balance, M=0; K: slope of the point.
Use QuickBASIC program to determine the search interval, select the appropriate step size, and perform one-dimensional search multiple times. You can get a point corresponding to 1.4 surface fitting calculation. Because there is no R30 milling cutter, the circular surface of R30 needs to be milled with smaller radius. The knife is fitted and the ball cutter is in any position. M=R―R(R―r)cos9AZ,=“Rsin0+1.5—Workpiece arc radius, R=Z direction compensation amount; M——balance.
2 NC program and machining effect According to the above analysis and calculation, the NC machining program is programmed by parameters. The program includes 3 parts: (1) the machining program of the surface where the R30 arc is located; (2) the machining program of the surface where the R16 arc is located; 3) The machining program for milling the middle part of the two spirals. In order to facilitate the relevant personnel, only the processing procedure of the surface where the R 16 arc is located is listed: we use the above three sets of NC programs in practice, and the equipment of the spiral bushings with the value of 84cl70S560e9Ar is replaced with the anti-corrosion catalytic cracking device. Analysis of Corrosion Causes of Heater Shells Zhang Lijin Wang Tonggang (Qingdao Petrochemical Plant, Qingdao, Shandong, 266043) consumes the purpose of ensuring the normal operation of production equipment and providing experience for handling equipment accidents with similar working conditions.
In the petrochemical industry, the waste heat of the distillate of the rectification tower is often used to heat various industrial materials to be heated to achieve energy saving and consumption reduction. The H204 heat exchanger of the catalytic cracking unit of Qingdao Petrochemical Plant uses the oil slurry at the bottom of the fractionation tower to heat the demineralized water to achieve the purpose of producing steam. Since the heat exchanger was put into use in 1992, shell leakage occurred twice during the period from 1996 to 1997. The two-time use interval of less than half a year greatly affected the normal operation of production and increased production costs. In order to solve this problem fundamentally, it is necessary to explore the cause of the corrosion in order to solve the problem.
1 On-site investigation The leakage part of the heat exchanger shell is located below the weld of the pipe box flange and the shell. After the on-site grinding, a slight crater is observed, which is strip-shaped along the weld, and the area is about 2cm2. The strip crack is perpendicular to the girth weld, about 0.2 cm wide and about 40-60 cm long, three of which penetrate the weld and have cracked the shell.
At the same time, we took two deposits from the heat exchanger casing on November 30, 1996, and the deposits were hard and brittle. One piece is basically grayish white, with black substance on the surface, about 15mm thick. The other part is divided into two layers, the bottom layer is reddish brown, the thickness is about 20mm, the upper layer is gray and white, the thickness is about 10mm, and the surface has black matter. Through experiments, the two deposits released gas in the acid. Both deposits were soluble in water. After the dissolution, the bottom was a soft muddy sediment, and the upper part was a layer of black oil. The two sediments were analyzed by X-ray diffraction and found that most of the sediments were chloride, water-alkali and ferrous salts. The analysis data are shown in Table 1. The School of Engineering, and now the Qingdao Petrochemical Plant Maneuvering Department is engaged in equipment management. Telephone: This indicates that the design of the program is very successful. At the same time, the E program is >ublishingHouse.Allrightsreserved. It is difficult to realize by ordinary machining methods. The spiral surface processed by NC machining method has high precision and good consistency. Appropriate repair and polishing by the fitter.
3 Conclusion The complicated spiral bushing is the original on the imported equipment. It is rare in actual processing. Importing one piece requires a large amount of foreign exchange and needs to be reserved in advance. At the time, the MITSUBISHI machining center machine tool was very difficult to implement by the latest equipment imported from abroad and the screw bushing was realized. The CNC machining of the four screw bushings has been completed using this program and is in good condition.
The method of establishing the mathematical model, the actual calculation method of the contact between the tool and the workpiece, the method of the tool's all-round correction with respect to the workpiece, and the method of surface fitting can provide reference for the later complex shape surface programming.
(Finish)
Some times, auto wash shops or end users who do not know how to choose equipments for car care and detailing. here has polishers bag for your reference. the polisher size 3'',5'',6'', and still has polishing pads, Wool Pads, cutting compound,Polishing Compound, and finishing compound, different Microfiber Towels to reference etc.
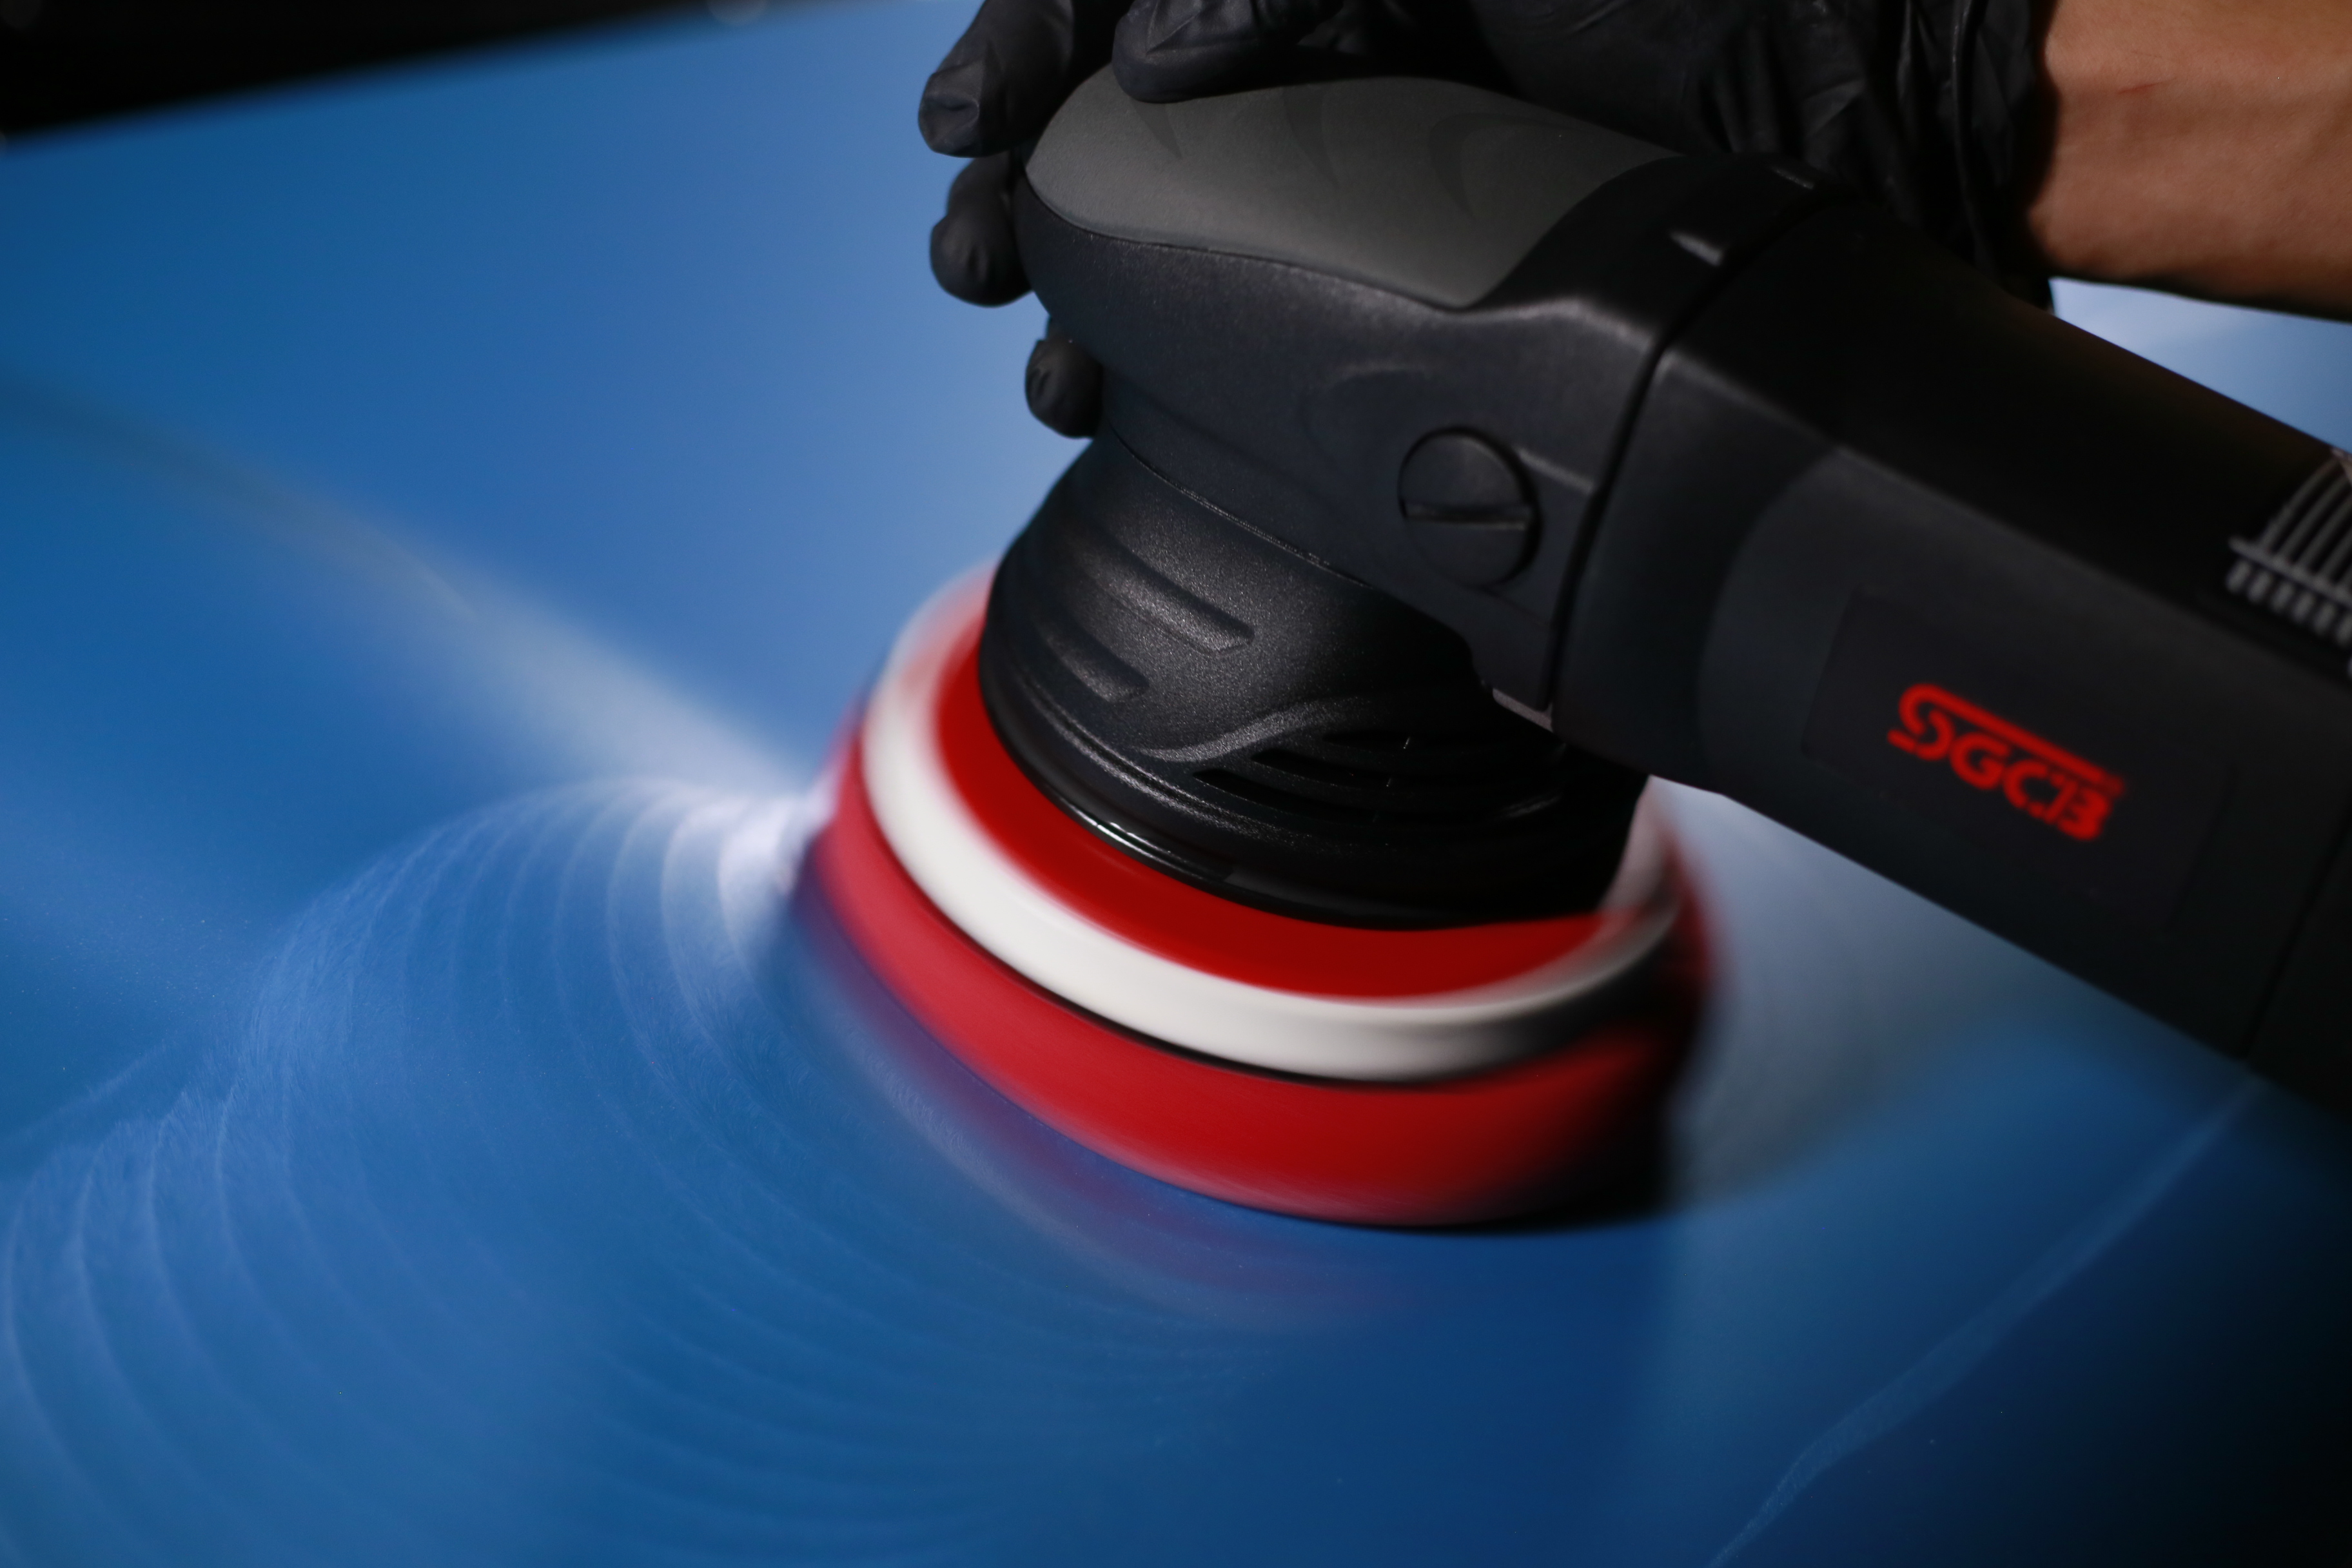
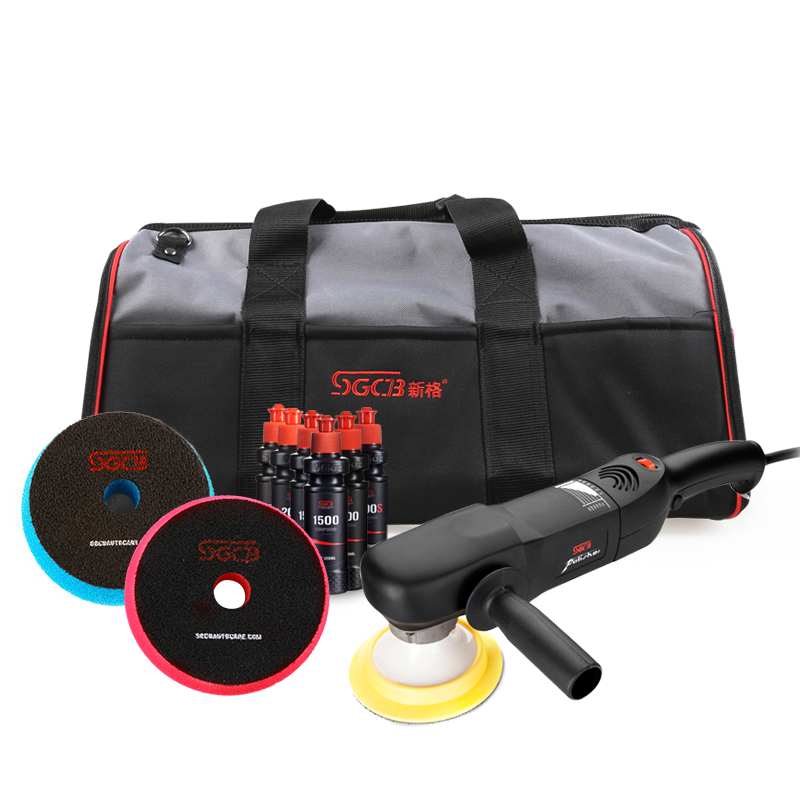
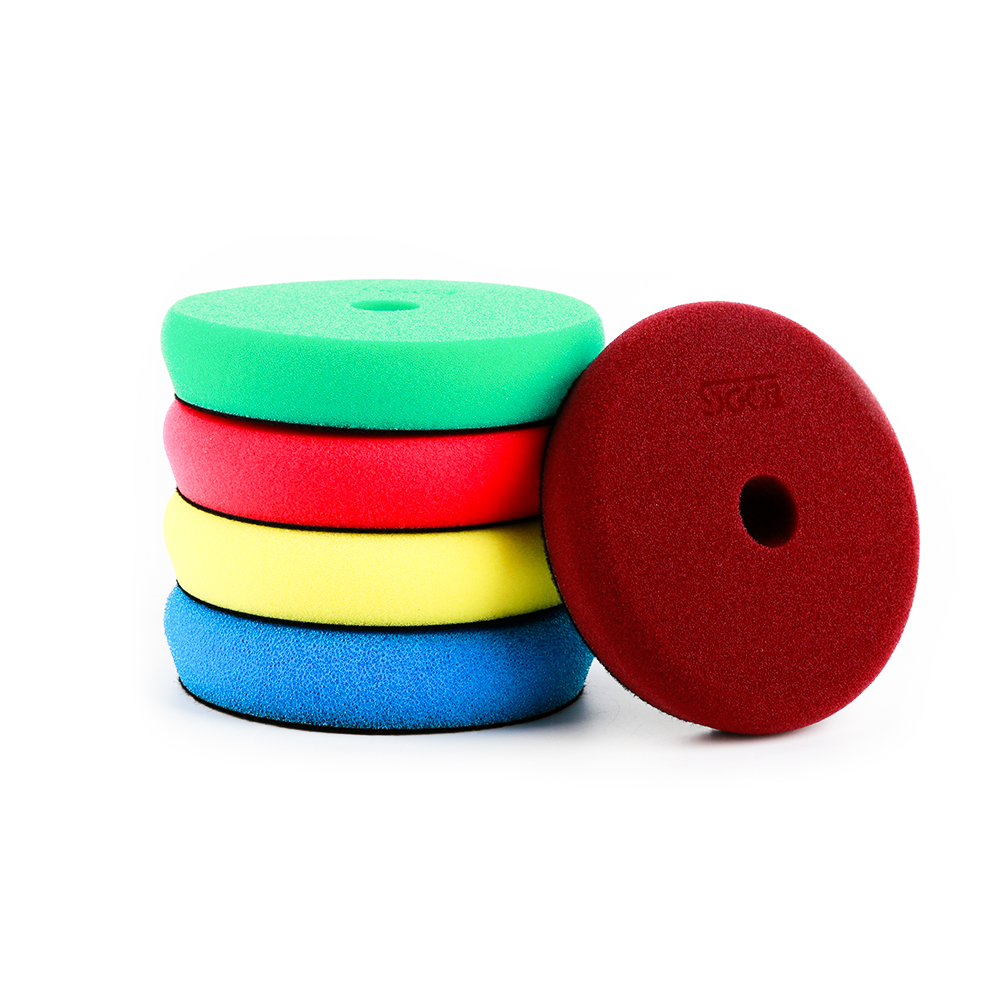

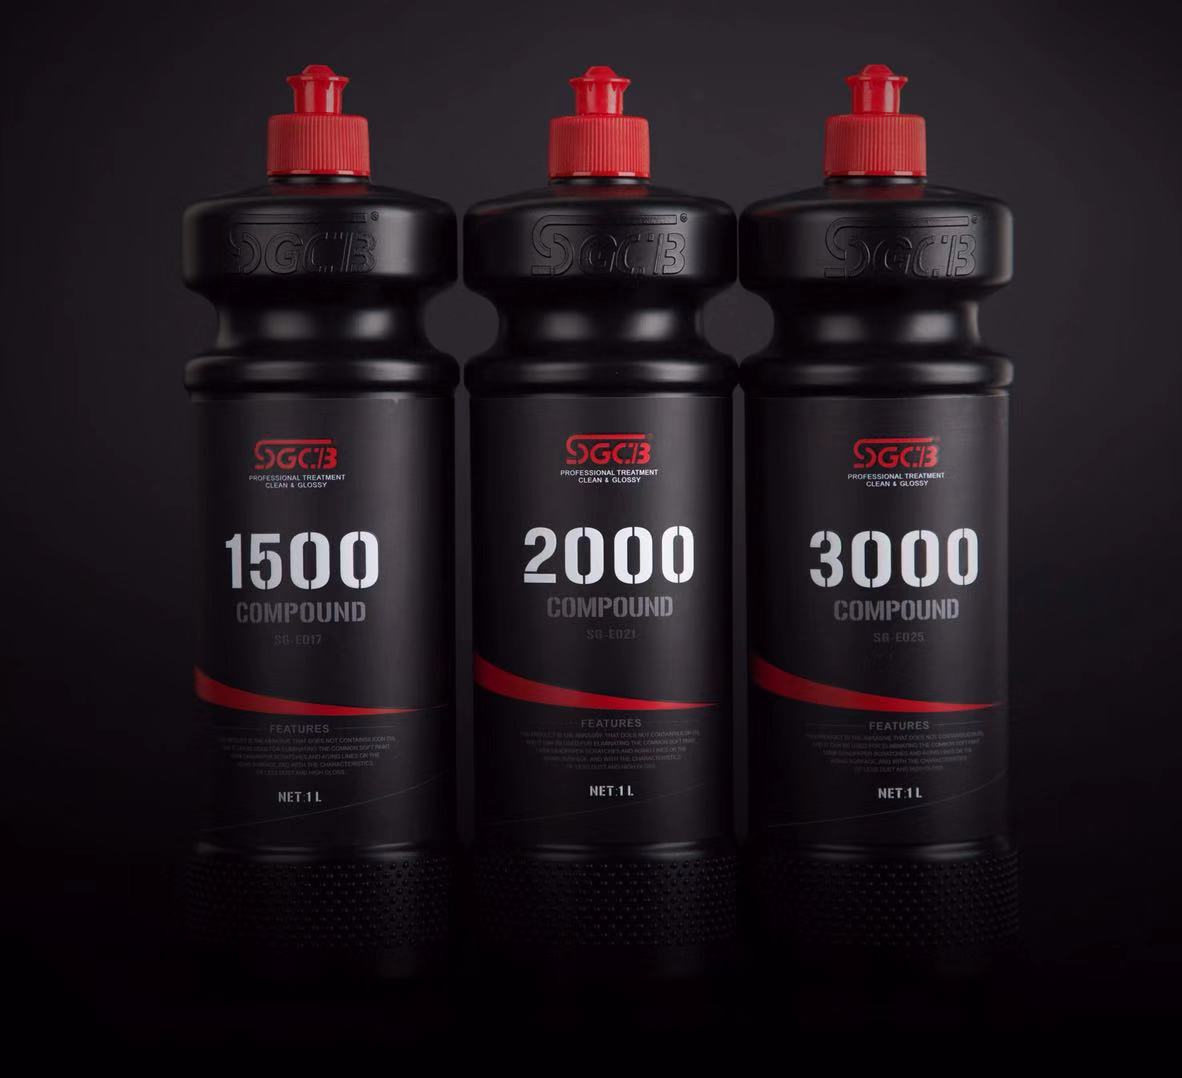
You can get more equipments , pls browse our website, or send mail to get catalog.
car polish kit price, car polishing kit for drill, small polishing machine, polishing tools kit, polisher kits, polisher manufaucturer
SGCB COMPANY LIMITED , https://www.sgcbautocare.com